Filter and sort your clients
Group by name or phone, sort, and filter by service, payment, contact details and visit frequency — including regulars and clients who have lapsed.
Updated Sep 18, 2026
The client list can answer questions the schedule cannot: who has not been in for three months, who always pays a deposit, who has a phone number and who is only an Instagram handle.
Steps
- Open the client list from the Appointments tab (the clients icon in the top bar).
- Tap the filter icon (the funnel). It fills in when a filter is active.
- Combine what you need and, on Android, tap Apply.
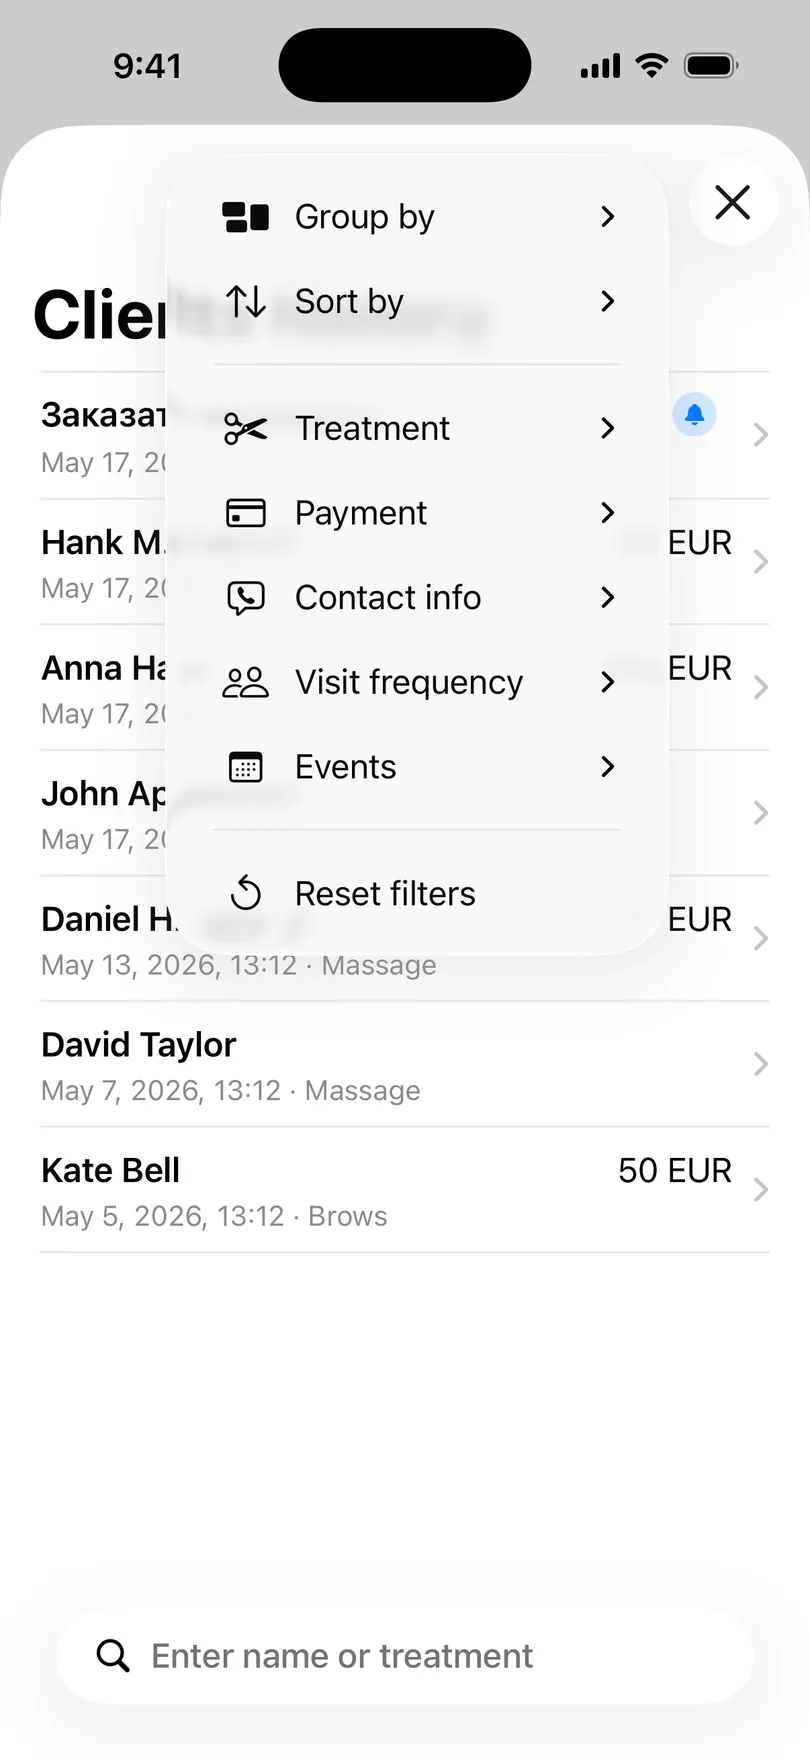
The filters
- Group by — By name, By phone, or a flat list of individual appointments (All visits on Android). Grouping by phone keeps a client together even when you spelled the name two ways.
- Sort by — newest first, oldest first, or name A–Z.
- Service — only clients who have had a given service. Pick several.
- Payment — Paid, Unpaid (appointments with no price), Has prepay.
- Contact info — Has phone, Has notes.
- Visit frequency — New (1 visit), Returning (2–5), Regular (6+), Lapsed (no visit for 90 days or more).
- Time — all, upcoming only, past only.
- Events (iPhone) — hide, show or list only your personal reminders.
- Reset filters clears everything.
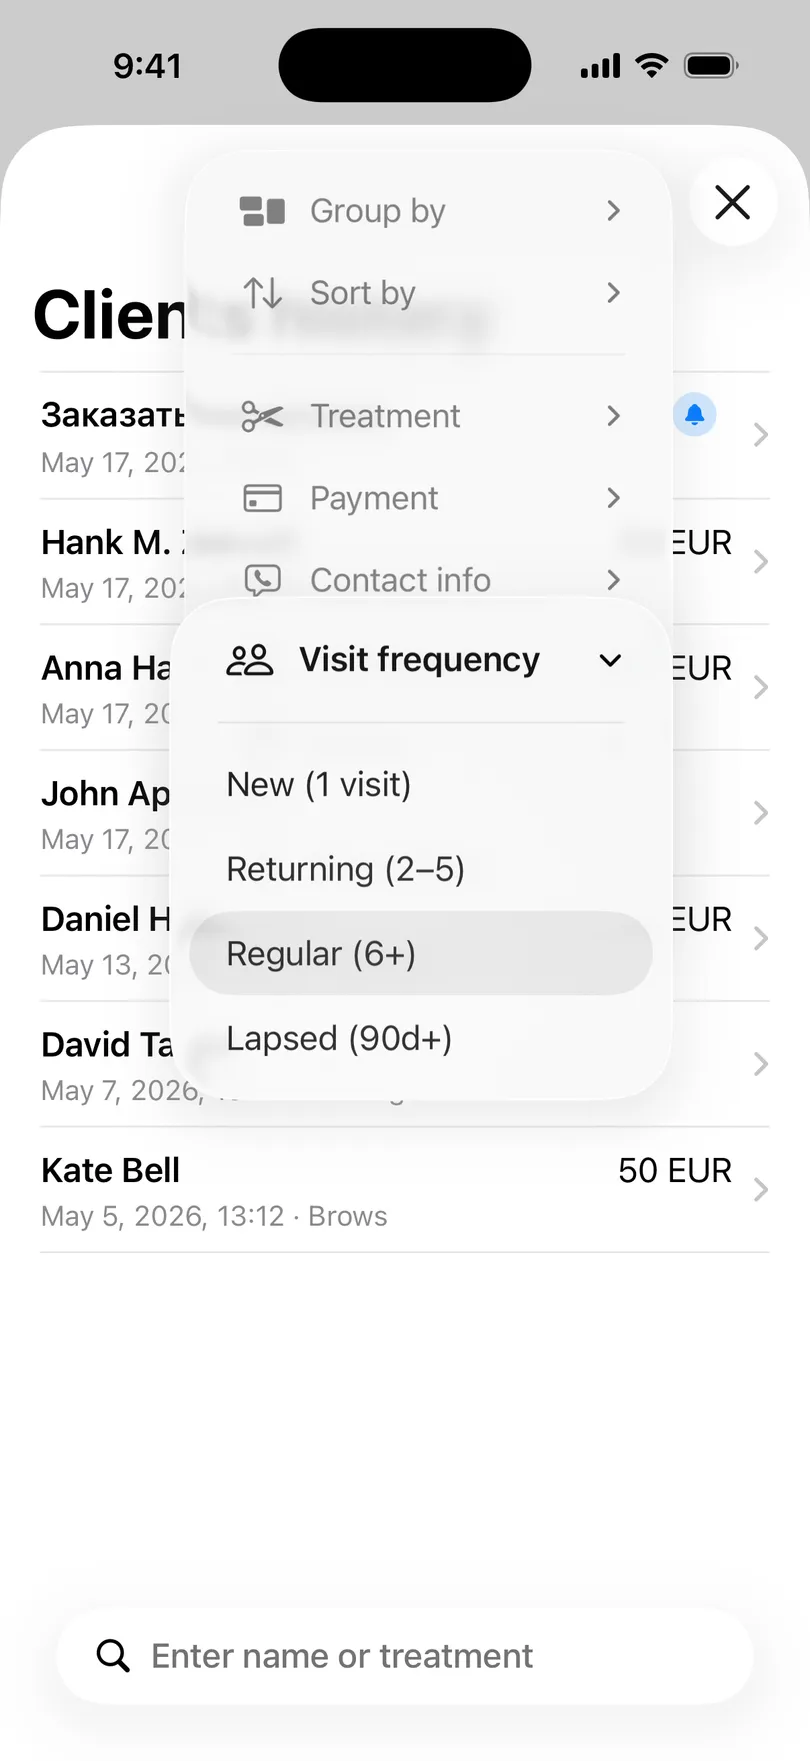
Two searches that pay for themselves
- Regular + Lapsed — your best clients who have quietly stopped coming. Each one is a long press away from a message.
- Has phone, unticked — everyone you could not reach if Instagram went down tomorrow.
Search
The search field above the list finds a client as you type — by name or service on iPhone, by name, phone number or notes on Android.
Good to know
- Filters are remembered between launches. If the list looks short, check the funnel icon before you worry.
- Grouping and sorting do not count as a filter — the icon stays empty for them.
- On Android the client list is part of Pro.
Related questions
See also
Read more on the blog
Didn’t find the answer? Ask support
My Clients 

Start organizing your clients today
Free No account Works offline